
MacBook External Monitor Setup for Beginners: A Step-By-Step Guide
If you’ve ever wished for more space on your screen, a bigger display for videos, or an easier setup for working from home, connecting a MacBook external monitor can make a huge difference. This beginner-friendly guide will show you how to plug in a monitor, choose the right cable, and adjust settings — without needing tech experience.
Whether you have a MacBook Air or MacBook Pro, old or new, this guide will help you get everything working smoothly.
What You’ll Need
Before connecting a MacBook external monitor, gather:
- A monitor or TV with the right input port (like HDMI or DisplayPort)
- A cable that matches your Mac’s port
- Possibly an adapter or dock for older or newer Macs
- Your MacBook power adapter (recommended)
Step 1 — Identify Your MacBook Ports
| Mac Type | Ports You Might Have | Year Range | Notes |
|---|---|---|---|
| Newer MacBook Air / Pro | USB-C / Thunderbolt (small oval-shaped port) | 2016–present | Often requires USB-C to HDMI/DisplayPort cable |
| Some MacBook Pros | HDMI (wider port with a slight wedge shape) | 2021–present | Can plug directly into most modern monitors |
| Older MacBooks | Mini DisplayPort, Thunderbolt 2, or (rare) USB-A | 2015 and earlier | Adapters likely needed |
Ports that look the same may support different features.
Example: USB-C + Thunderbolt are shaped the same, but Thunderbolt supports higher-quality displays.
Step 2 — Match the Monitor Port and Choose the Right Cable
| Port Type | What It Looks Like | Where It’s Found | Best Cable or Adapter | Thumbnail |
|---|---|---|---|---|
| HDMI | Wide, angled corners | Modern TVs & monitors | USB-C to HDMI cable | 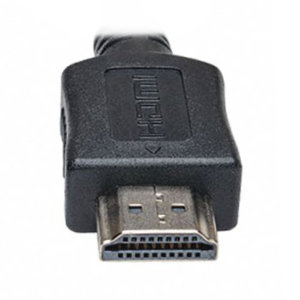 |
| DisplayPort | Rectangular with one corner cut | Office monitors | USB-C to DisplayPort cable | 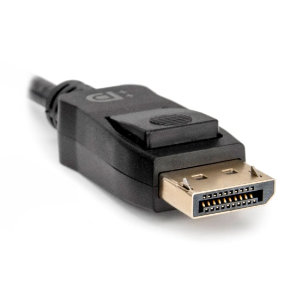 |
| USB-C Video | Small rounded rectangle | Newer monitors | USB-C to USB-C cable | 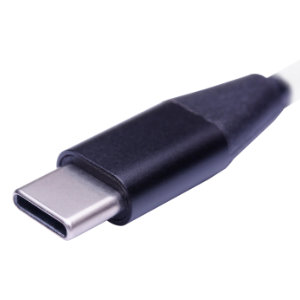 |
| DVI | Wide with many square holes | Older monitors | USB-C / Thunderbolt to DVI | 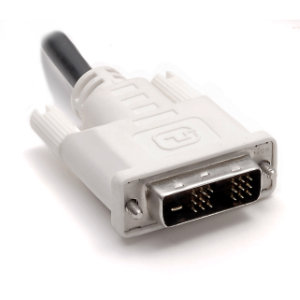 |
| VGA | Blue trapezoid with pins | Very old monitors | USB-C / Thunderbolt to VGA | 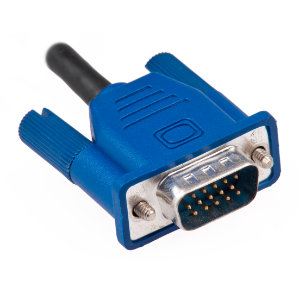 |
Tip: If you’re unsure — HDMI is the most common and easiest option.
Step 3 — Plug in the Cable
- Most monitors will automatically detect an active cable, but if not, you can manually set monitor to the correct input source (HDMI 1, HDMI 2, etc.).
- Plug the cable into your monitor first
- Then plug the other end into your MacBook
- Your MacBook should detect the screen automatically
If nothing happens, don’t worry — we’ll fix that shortly.
Step 4 — Adjust Display Layout (Screen Position)
When your monitor is recognized by the computer, your MacBook will automatically use it.
To change layout:
- Open System Settings
- Go to Displays
- You’ll see both screens shown as boxes
- Click and drag the monitor icons to match their real-life positions (left, right, or above)
Your mouse can move between screens, but you’ll want to arrange the monitors in the system setting to what you have on your physical desk. That way your mouse will move seamlessly between monitors.
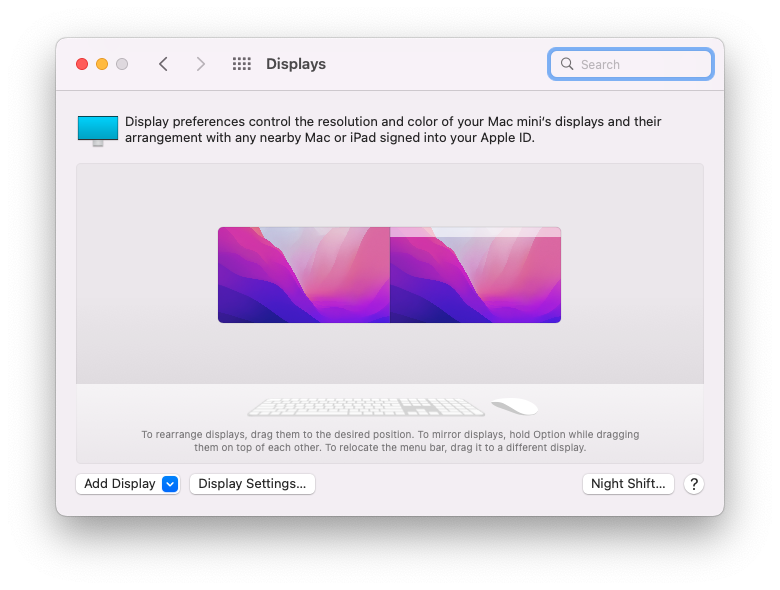
Extended Display = More workspace with each monitor able to display its own content. (recommended)
Mirror Display = Same thing on both screens (great for presentations)
Step 5 — Fix Blurry or Small Text
Each monitor has a native resolution, which describes how many tiny dots (called pixels) make up the screen. For example, a 1920 × 1080 monitor has 1,920 pixels across and 1,080 pixels down. Higher numbers mean a sharper picture. When you choose a resolution that isn’t the monitor’s default, macOS has to resize everything on the monitor to make it fit. This process is called anti-aliasing — the Mac smooths the edges of text and images — but sometimes this can make things look slightly blurry instead of sharper.
To adjust resolution:
- Open System Settings → Displays
- Click your external screen
- Try More Space (smaller items / more room)
or Larger Text (bigger and clearer)
Adjust until it feels comfortable for your eyes.
Step 6 — Check Video Quality for Smooth Motion
If the picture looks choppy, adjust refresh rate:
Refresh rate = how many times per second the screen updates
(Higher numbers = smoother motion, like video and scrolling)
You’ll find refresh rate in the same Displays settings panel.
Troubleshooting: If Your Monitor Isn’t Showing Anything
| Problem | What to Try |
|---|---|
| Blank screen | Check input source on monitor |
| Mac says “No Display Detected” | Unplug cable → restart Mac → reconnect |
| Blurry picture | Check resolution settings & default resolution |
| Adapter not working | Some low-cost adapters don’t support video |
If you still can’t get a MacBook external monitor working — help is below. 👇
Recommended Accessories
- USB-C to HDMI cable with 4K support.
- Powered docking station (multiple screens + charging)
- MacBook stand to improve comfort and posture
Final Thoughts
Connecting a MacBook external monitor can boost productivity, make entertainment more enjoyable, and create a better workspace. With the right cable and a few simple settings, you can transform your Mac setup in minutes.
Need Help? Local Support for London, Ontario
If you’re stuck or want someone to handle the setup for you, we can help.
Mac Support Services Offered:
- Monitor and display setup
- Cable and accessory recommendations
- Fix issues when the screen won’t show up
- Improve slow or glitchy Mac performance
📞 Contact London Mac Support
Friendly, local help for Apple users
We remove the tech stress — so you can focus on what matters.