
Windows Backup Made Easy: How to Use EaseUS Todo Backup Free to Protect Your PC
When your computer stops working or Windows won’t start, having a full Windows Backup can save the day. The free version of EaseUS Todo Backup can create two important things that keep you safe:
- An emergency USB recovery drive (so you can start your PC even if Windows won’t).
- A full backup of your C: drive, which includes your Windows system, settings, and programs.
Let’s go through both steps in simple language so you can make your own Windows Backup safety net at home.
What You’ll Need
Before we begin, gather these items:
- A USB stick — 8 GB or larger (it will be erased).
- An external hard drive or SSD — big enough to hold everything on your C: drive.
- A few minutes of quiet time so the process isn’t interrupted.
💡 Tip: Don’t use the same drive you’re backing up. Backups stored on your C: drive can be lost if that drive fails or gets hit by malware.
Step 1: Install EaseUS Todo Backup Free
- Go to the official EaseUS Todo Backup Free website.
- Download and run the installer.
- Uncheck any optional offers if you see them.
- When setup finishes, click Launch.
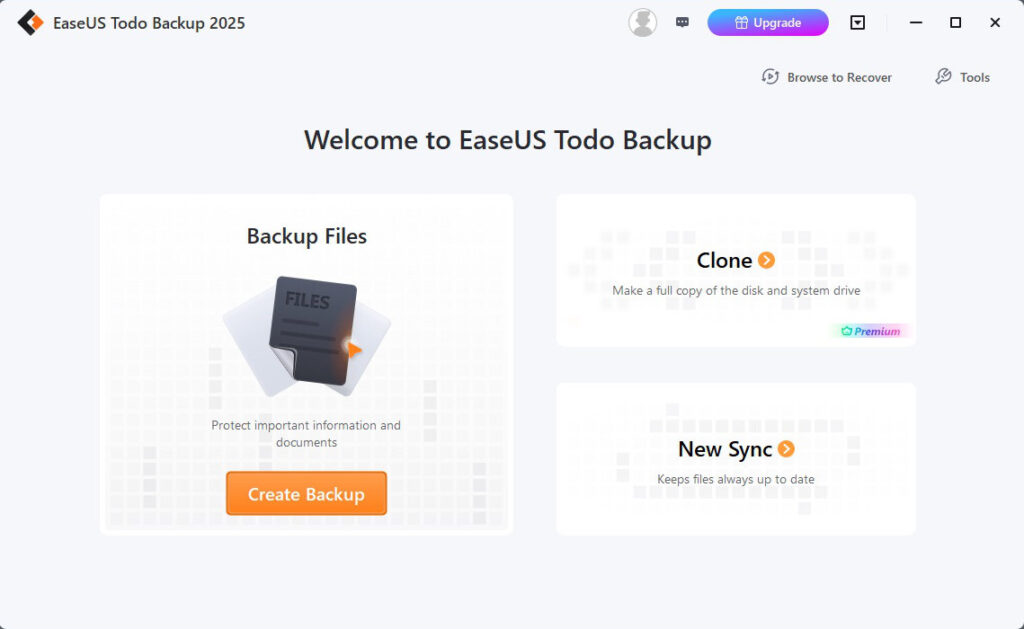
The main window shows big buttons like Create Backup and Tools — that’s where we’ll work next.
Step 2: Create an Emergency USB Recovery Drive
This USB lets you start your computer and restore a Windows Backup even if Windows won’t start.
What It Does
The emergency disk loads a small version of Windows called WinPE. From there, you can run EaseUS and bring your system back.
Steps
- Plug in your empty USB stick (8 GB +).
- Open EaseUS Todo Backup.
- Click Tools → Create Emergency Disk.
- Choose USB as the destination.
- Select WinPE as the boot type.
- Click Create and wait a few minutes for it to finish.
- Label the stick “EaseUS Rescue” and store it somewhere safe.

Strongly recommended test: Restart your computer and use your boot menu to make sure the USB starts the EaseUS recovery screen. You don’t need to restore anything — just confirm that it boots properly.
Step 3: Make a Full Backup of Your C: Drive
A full Windows Backup makes a snapshot of your entire Windows system — everything on C:, including programs, settings, and files. This is what you’ll use to restore your PC if something goes wrong.
Why Not Save It on C:?
EaseUS will suggest a default backup location on your C: drive, but that’s unsafe. If that drive dies or gets encrypted by ransomware, your backup is lost too. Always use an external drive or another physical disk.
Steps
- Plug in your external drive.
- In EaseUS, click Create Backup (or Add Backup).
- Choose OS or System Backup.
- EaseUS will automatically select C: and any system partitions.
- Click the folder icon next to Destination, select Local Drive, then pick your external drive.
- Give the Windows Backup a name like Full Backup – Nov 2025.
- (Optional) Click Backup Options to add a password or change compression.
- Click Proceed or Backup Now and wait until the progress bar shows “Completed.”


When finished, unplug the external drive, label it, and keep it in a safe place.
Step 4: Do Incremental Backups After the First One
Once your full Windows Backup is done, you can save time and space by doing incremental backups. These only record what changed since the last backup.
In EaseUS:
- Open your backup task.
- Click Backup Scheme → Incremental.
- You can schedule it daily, weekly, or manually whenever you like.
💡 Tip: Keep at least one full backup and a few incremental backups on hand. If you update files often, make a new full backup every month.

Step 5: Verify Your Backups
To make sure everything works:
- In EaseUS, open the Backup List.
- Click Explore Image (or Mount Image) to view your backed-up files.
- Check that you can see your documents inside the backup.
- Boot from your emergency USB once to confirm it loads the EaseUS recovery screen.
Safe Storage Tips
- Keep your backup drive unplugged when not in use — this protects it from ransomware.
- Store the emergency USB in a labelled envelope or drawer.
- Make a new full backup once a month, or before major updates.
- If possible, keep a second copy of your Windows Backup offsite — like a friend’s house or a cloud drive.
Final Thoughts
With your emergency USB and a full Windows Backup, you’re protected from most computer disasters. You can restore your entire system — not just your files — in just a few clicks.
Need help? If you live in the London, Ontario area and want hands-on assistance setting up your backup system, I’d be glad to help — click the button below to get in touch with me.